Prepare an AI-Generated SVG for Cricut or Silhouette: File Checks First
By Ashesh Dhakal, Founder, SVG AI
svg for craftingcricut svgsilhouette svgsvg maker
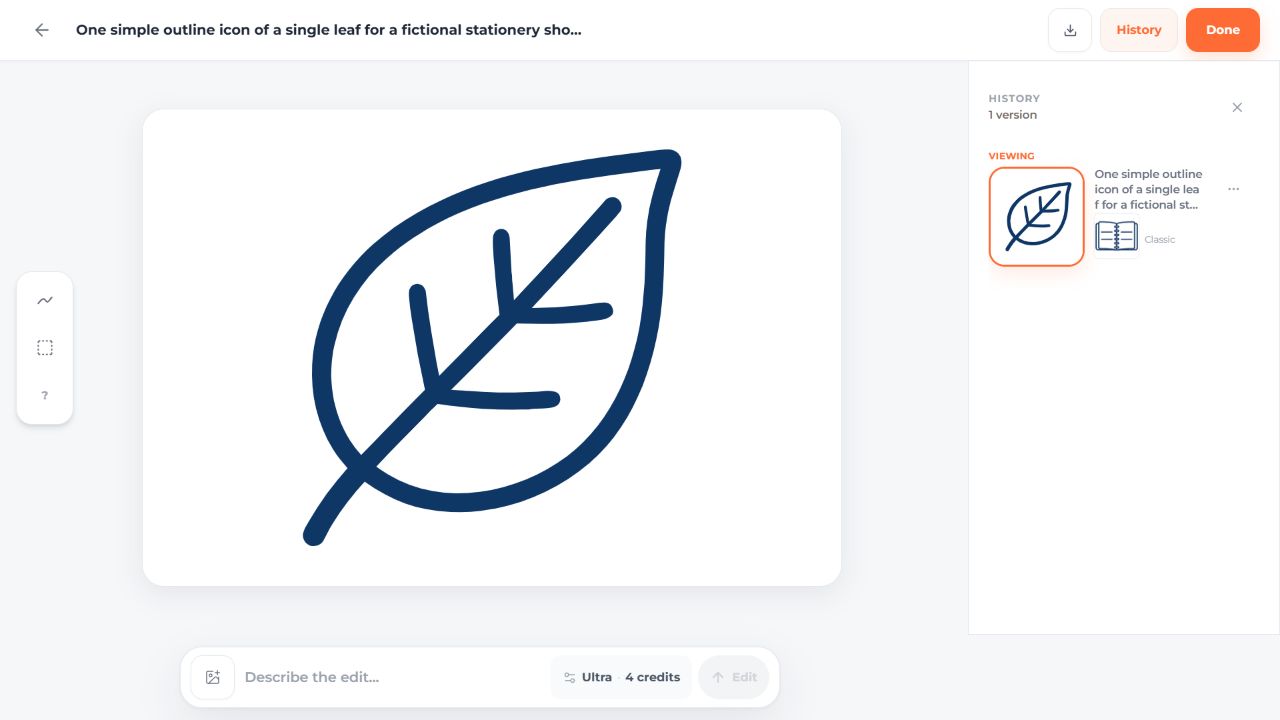
A leaf can look like a simple outline in a browser while its SVG contains a filled region with interior contours. A cutting application needs the actual geometry, not the appearance of a large preview.
This walkthrough starts with a real leaf from our SVG maker. It covers the file checks before a cutting-software import. The supplied file has been downloaded and inspected, but it has not been imported into Cricut Design Space or Silhouette Studio or physically cut. Use the software preview and a material test to complete that part of your own project.
Start with a small, owned design
The fictional Fieldnote project used this prompt:
One simple outline icon of a single leaf for a fictional
stationery shop product badge. Square composition with
generous padding, rounded line ends, dark navy #18345F only,
no lettering, no filled background, no gradients or shadows.
Transparent background.
On September 14, 2026, Classic generated one SVG with the transparent-background option, at a displayed cost of two credits. The notebook from the same owned project was attached as a reference.
Download the original leaf. It is 4,674 bytes, contains one path and no image or text elements, and uses the fill rgb(15,55,102). That navy differs from the requested #18345F. The reference comparison documents the source and settings.

Look beyond the path count
One path element can contain several subpaths. It does not mean one uninterrupted pen line, one cut, or one connected piece of material.
Open the SVG in a text editor and look for its viewBox, paint values and any images, text, masks, clipping paths or gradients. Then inspect the shape in a vector editor. For an outline-style leaf, pay attention to the interior openings and the narrow joins between the stem and veins.
The file inspection script and examples help distinguish paths from an embedded bitmap. They do not certify a cut file.
Check what your cutting application accepts
Cricut lists pattern and gradient fills, clipping paths, editable text and unsupported linked or embedded imagery among SVG upload problems. Its documentation explains when flattening geometry or converting text to shapes is needed. Follow the unsupported-items guidance for the actual feature in your file.
For SVG upload in Design Space, use the vector upload flow: select the file, continue, name it and upload it to the canvas. Do not apply the raster-image “Simple” or “Complex” instructions to an SVG. The current upload instructions show the separate flows.
Silhouette Studio requires Designer Edition or above to open SVG files, according to its edition documentation. Confirm the edition you have before troubleshooting a file that the installed edition cannot open.
Review the actual size and operation
After import, set the intended physical dimensions and inspect the layers and operation in the receiving application. A visual outline made from a filled shape may behave differently from a centerline intended for drawing with a pen.
Check whether small openings remain usable at your chosen size, whether pieces should stay connected, and whether overlapping shapes cause unwanted repeated cuts. Use the material manufacturer's and machine's guidance for the specific operation, then make a small test. This guide supplies no universal blade, pressure, speed or minimum-width setting.
For a one-piece cardstock design, disconnected islands need special attention. For adhesive vinyl, separate pieces may be intentional. Judge the geometry against the project rather than treating “connected” as a requirement for every material.
Refine the design without losing the source
A prompt such as “simplify the leaf veins” can explore a different drawing. Keep the original and compare the entire new result: an AI edit can change the outline and framing as well as the requested detail.
Use a manual geometry edit when a particular bridge or contour must stay exact. Recoloring alone does not merge paths, turn a filled outline into a centerline, or make an asset ready for a machine.
The minimalist-logo exercise demonstrates removing details from an owned file and comparing the result at small sizes. Its browser comparison is useful for visual review, but is also not a physical cutting test.
Save a clear handoff
Keep the generated original, any manual revision and the version that passed your receiving application's preview. Record the intended dimensions and operation beside that final file. Add the material-test result only after performing it.
Generation access and SVG download access are separate; review current pricing before starting your own run. Use references and lettering you have permission to use. A generated preview or an SVG filename does not settle every condition of a commercial project.