To turn an SVG into a PNG, a renderer must draw the SVG's shapes into pixels. Creating an empty bitmap and saving it does not perform that conversion. This walkthrough uses Node.js and Sharp from PowerShell, with a complete input file and the resulting image available below.
If you prefer a browser workflow, open the SVG to PNG converter. For repeatable local exports, use the script in this article.
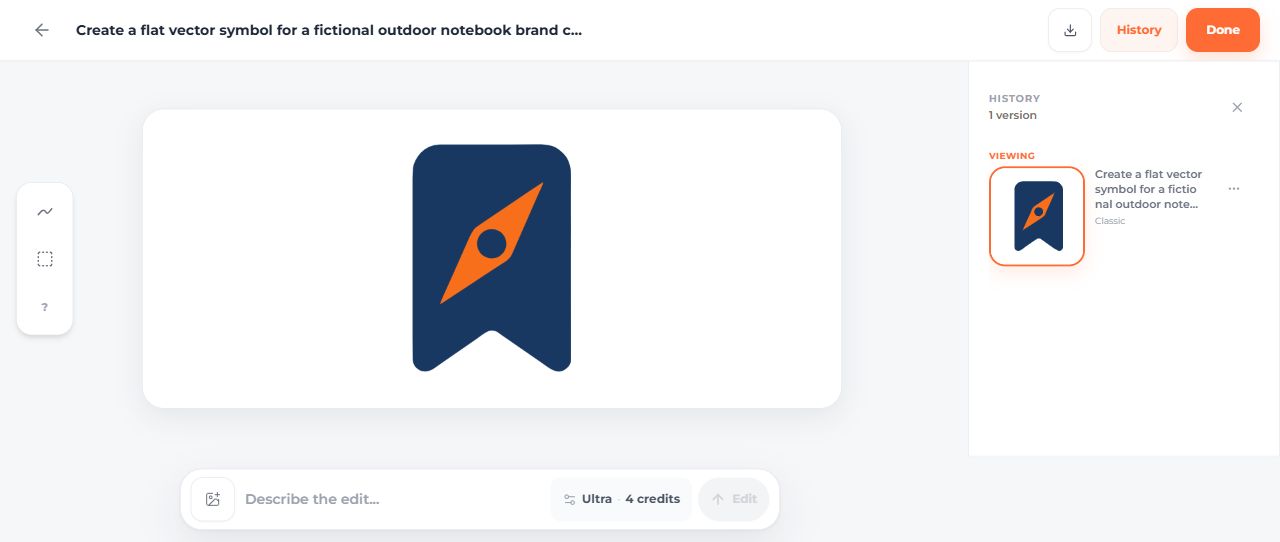
The input is a fictional Fieldnote bookmark-and-compass mark created in the SVG generator. It was generated in the dashboard on September 14, 2026, then downloaded as an SVG. The file has three paths and no embedded image.
The command below was executed on Windows with Sharp 0.34.5. It produced the linked 1200-by-1678-pixel PNG from the linked input. This is an example result, not a speed benchmark or a claim about every SVG feature.
Set up a local conversion folder
Install a current supported Node.js release, then open PowerShell in a new working folder. The example pins the Sharp version used here so that the steps are reproducible.
mkdir svg-export-example
cd svg-export-example
npm.cmd init -y
npm.cmd install sharp@0.34.5
Save fieldnote-original.svg and convert-svg.cjs in that folder. The script loads the local SVG with Sharp, checks that the input is SVG, renders it and saves a PNG. It rejects an invalid width, an oversized input for this example, and an output filename that would overwrite the source.
Use this example with local files you trust. It is a conversion utility, not a service for safely processing arbitrary untrusted uploads.
Export at a specific pixel width
node .\convert-svg.cjs .\fieldnote-original.svg .\fieldnote-1200.png 1200
The output from this run was:
1200 × 1678 PNG saved to fieldnote-1200.png
The script calculates a rendering density from the SVG's input width before resizing. This gives the renderer enough pixels for the requested output instead of simply enlarging a small existing PNG. The final resize preserves the input aspect ratio because only the width is supplied. Sharp documents its SVG input and density options in the constructor reference and its PNG output in the output reference.
Open the saved PNG and check its dimensions and appearance. For this bookmark, the orange needle and navy shape should be visible, with transparent space around the mark. If you see a blank image, a missing letter or a clipped edge, inspect that result before converting more files.
Convert a folder without overwriting the SVGs
After the single-file command works, place your SVGs in an input subfolder. This loop writes PNGs into a separate output folder:
New-Item -ItemType Directory -Force -Path .\output | Out-Null
Get-ChildItem -LiteralPath .\input -File -Filter '*.svg' | ForEach-Object {
    $pngOutput = Join-Path .\output ($_.BaseName + '.png')
    node .\convert-svg.cjs $_.FullName $pngOutput 1200
    if ($LASTEXITCODE -ne 0) {
        throw "Conversion failed for $($_.Name)"
    }
}
This is a sequential loop. It stops on a reported conversion failure, keeps the original SVGs, and avoids launching many large renders at the same time. Check representative outputs, especially files containing fonts, filters or linked images.
Pixel dimensions, transparency and print size
For a web image, choose the required pixel dimensions. Windows display scaling does not determine the pixel width of this exported PNG. Keep transparency when the graphic needs to sit on different backgrounds; use a deliberate background when the destination requires one.
Print dimensions are a separate decision. For example, 1200 pixels spread across four inches corresponds to 300 pixels per inch. Ask for the destination's actual pixel or print requirements rather than assuming one setting fits every printer or application.
Troubleshooting the actual file
The output is stretched. Check whether the SVG itself uses preserveAspectRatio="none" and how it is embedded. Compare the Fieldnote aspect-ratio example and the SVG file-format guide.
A font changes. Check whether the SVG contains live text and whether the required font is available to the renderer. Outlining text changes its editability, so keep an editable source if future wording changes matter.
The PNG contains unexpected colors. Inspect the SVG's fills first. The Fieldnote generation did not exactly match the two requested hex colors; conversion preserves the supplied artwork rather than correcting its design. The editing guide explains that separate step.
The script reports a failure. Read the error, test the SVG in a browser and start with one small file. Do not treat a printed success message as proof if the rendering operation was never implemented.