AI Icon Tools: Compare Three Creation Workflows
Updated · By Ashesh Dhakal, Founder of SVG AI
An icon is useful when it fits the interface where you need it. A large preview does not tell you whether the exported file has editable paths, whether it remains readable at 24 pixels, or how much cleanup it needs.
This guide compares three creation workflows. The SVG AI example below was generated and downloaded for this walkthrough. Adobe and Recraft descriptions refer to their current product documentation; they are not presented as a hands-on quality benchmark. SVG AI publishes this guide.
Choose the workflow before choosing the tool
- A custom SVG from a prompt: generate a direction, inspect the file and refine the parts that do not match the brief.
- Generation inside a vector editor: use this approach when the next step involves detailed manual artwork changes.
- A coordinated image set: check the actual exported format as well as visual consistency. An icon-looking image is not automatically an SVG.
1. SVG AI: generate, inspect and refine an SVG
Use the AI SVG icon generator when you want to describe a custom graphic and continue refining it in the dashboard. Attach an optional reference, select the available generation options, compare variations and ask for a follow-up edit.
For the fictional Fieldnote project, the prompt requested a navy bookmark containing an orange compass needle. The dashboard showed Classic, one SVG, transparent background and a two-credit generation cost for this run.
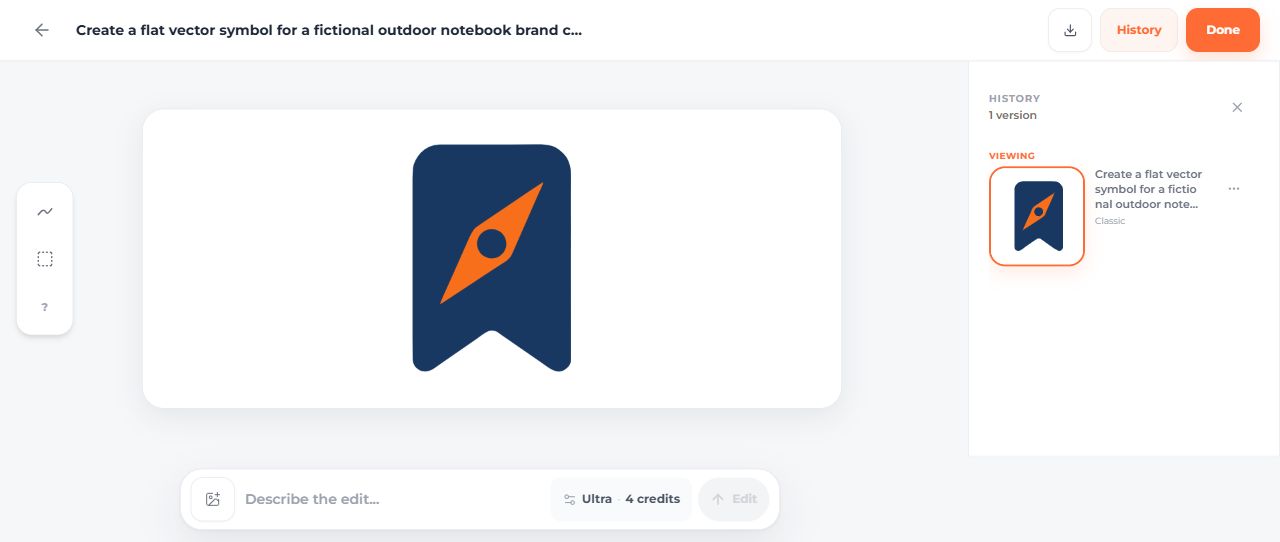
The downloaded original SVG contains three paths and no embedded image. Its fills differ from the exact hex colors requested. A later AI recolor changed the color direction, but also changed the path data and framing.

Compare the original, AI revision and manual variants. The manual files preserve the original path coordinates and set exact colors. Generation and edits use credits; check the download access offered for your account. Trial access is not a promise of unlimited free generation or export.
2. Adobe Illustrator: generation inside a vector editor
Adobe describes its icon workflow as Text to Vector Graphic, powered by Firefly. This is relevant when you want to continue working inside Illustrator. Check the current subscription and generation conditions on Adobe's icon-generator page.
Try the complete workflow you need: generate a subject, make the manual changes and open the exported SVG in its destination. Access to vector-editing tools does not guarantee that the first generated icon already meets your size or brand requirements.
3. Recraft: distinguish icon sets from vector output
Recraft's icon-generator page describes creating an image set, selecting a style, writing prompts and exporting individual PNG or JPG files. It also links to a separate AI vector workflow. If SVG is required, check which workflow and export option you are using rather than assuming every icon output is a vector file.
Inspect one complete export and compare the set at its intended size. Prices, trial limits and product options can change; use the product's current plan details when deciding whether it fits your project.
Compare the files, not just the thumbnails
- Use the same brief and intended pixel size for each tool.
- Keep each original export before cleanup.
- Inspect paths, images, text and the viewBox.
- Render the icon in a real button or navigation item.
- Include rejected attempts, manual work and export conditions in the decision.
A stock icon can still be the sensible choice for a familiar action. Custom generation is useful when the subject or visual direction needs something more specific. Continue with the SVG icon implementation guide, or explore the existing icon prompt tool.